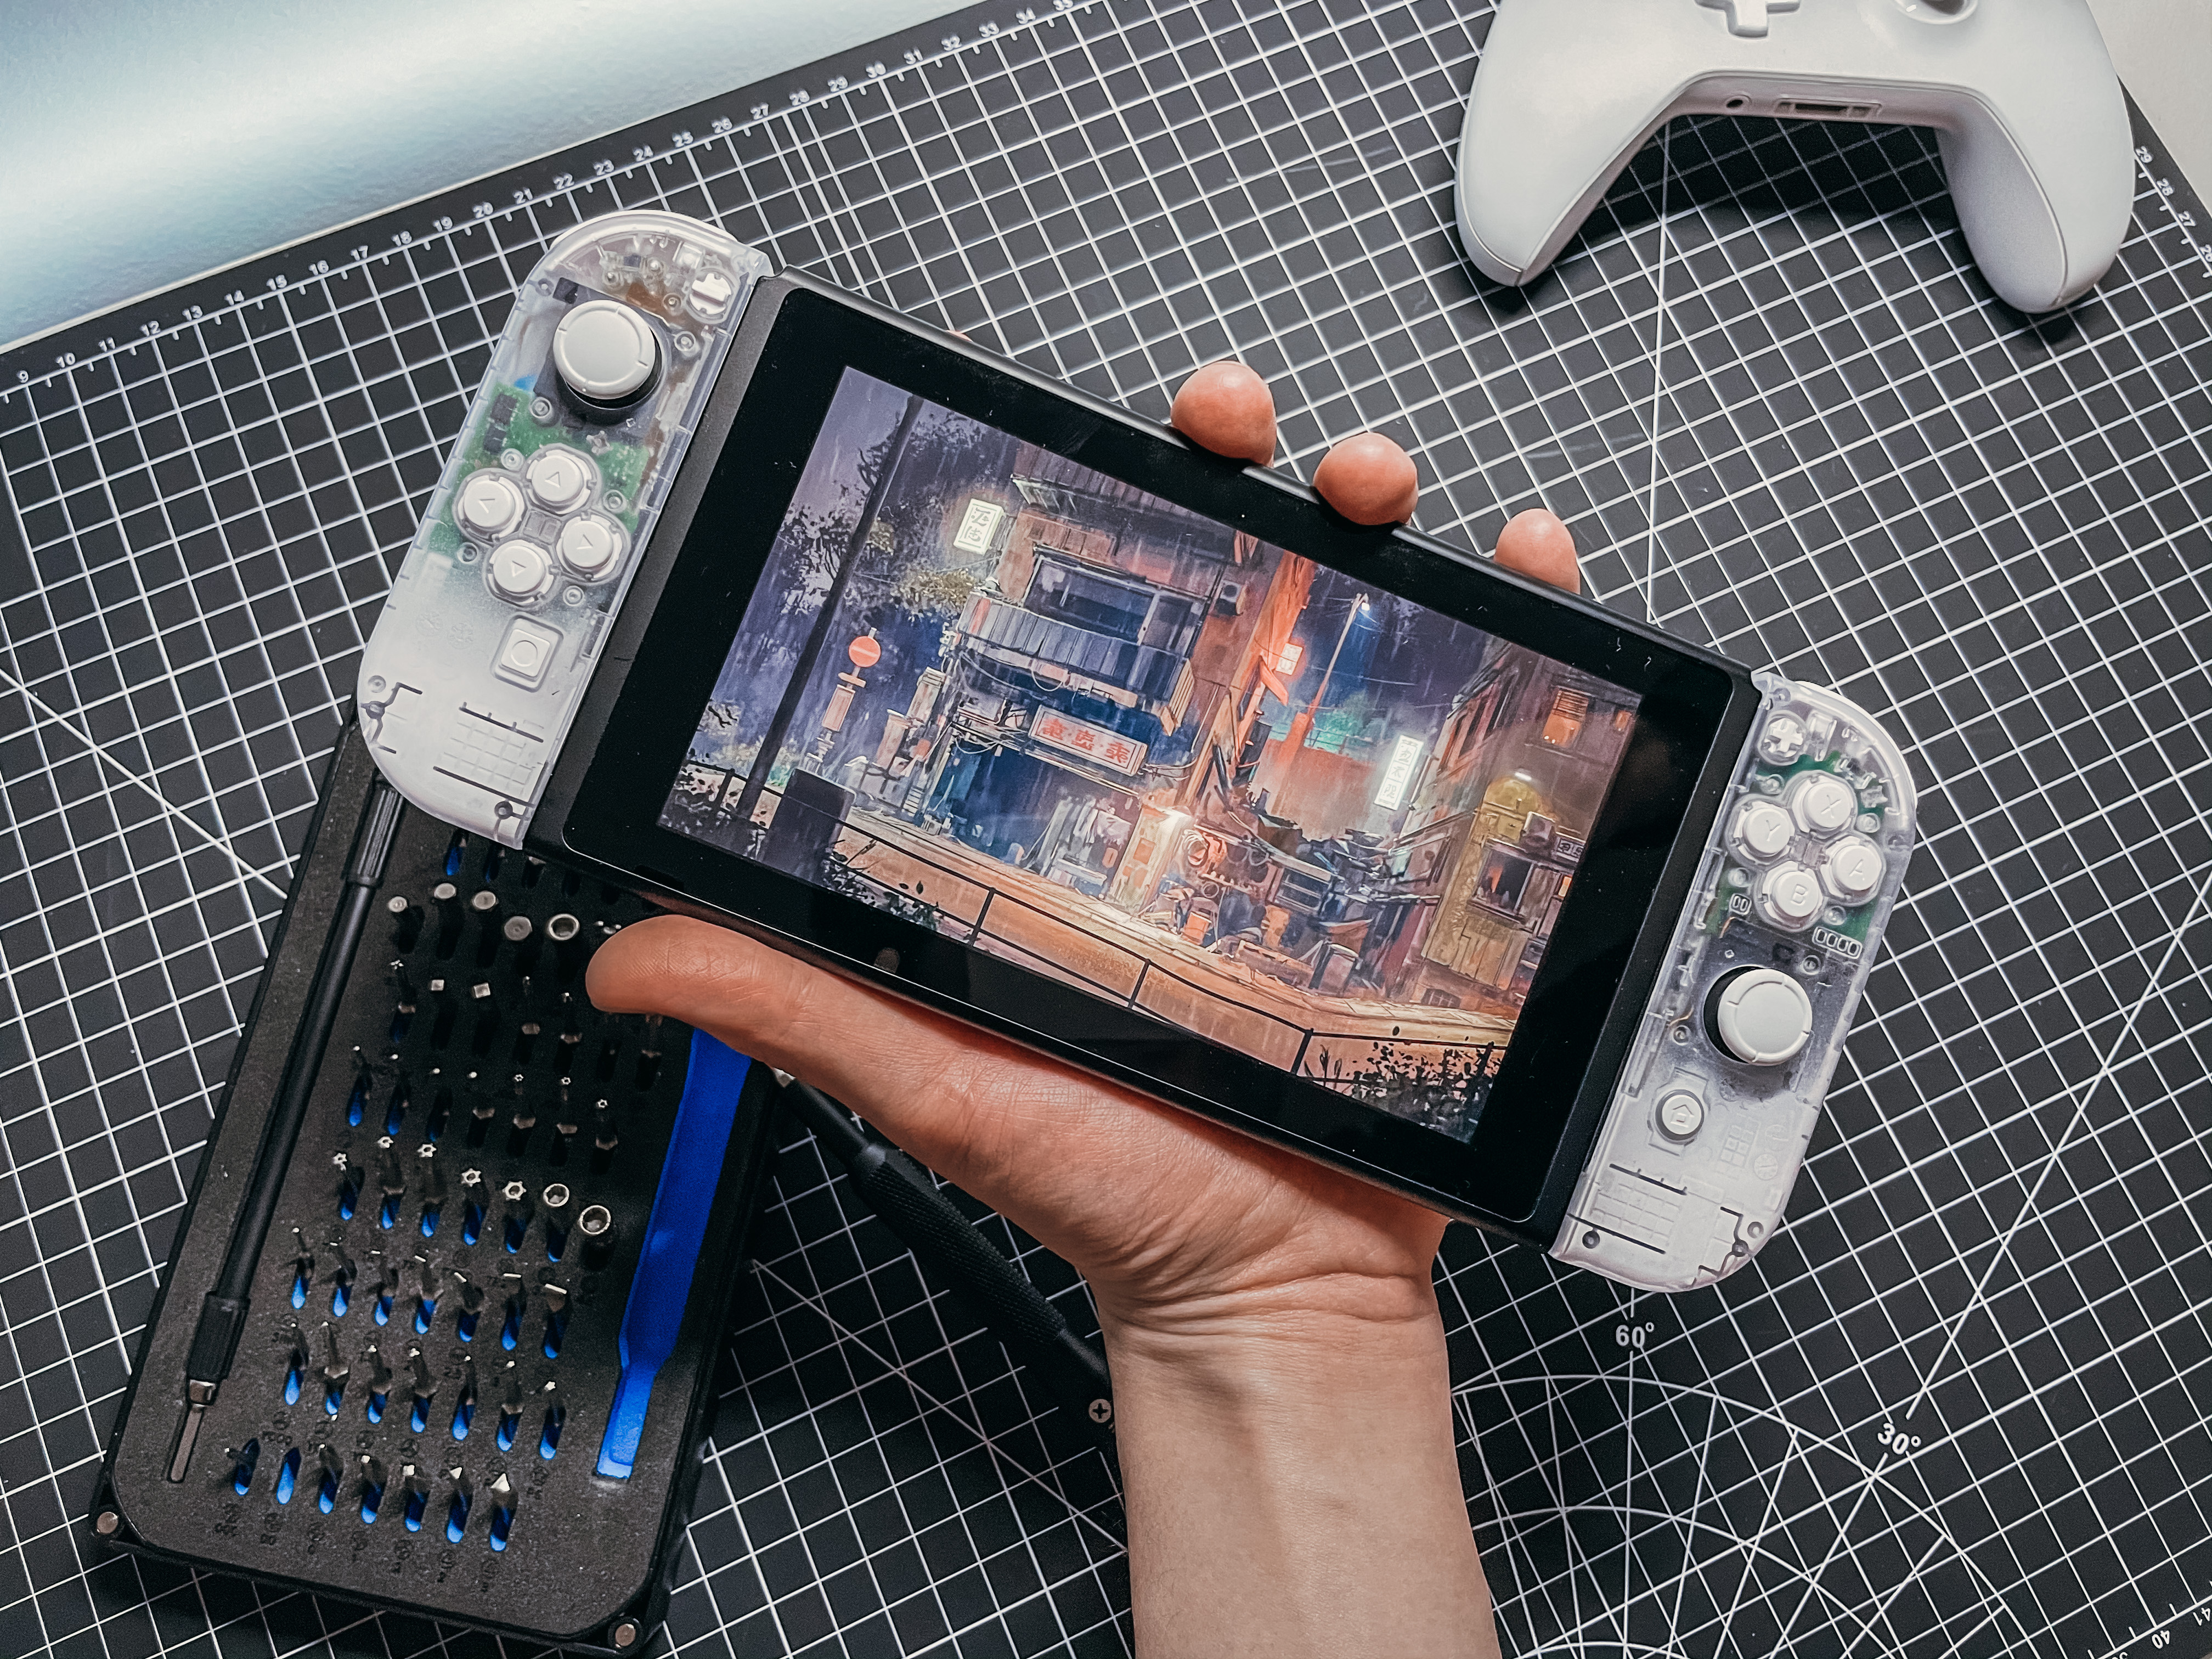
 My custom Nintendo Switch build.
I recently built a custom Nintendo Switch. This custom Nintendo Switch build goes from an opaque white to clear, and has white accent buttons. I love how it showcases the internals while still maintaining a strong white accent. It did involve a decent amount of experimentation to achieve though.
Here’s a small build blog where I’ll go through the process. I hope it’s helpful if it’s something you’re considering doing yourself. Realistically, including painting, drying, and assembly this is a 3-4 day project. If you don’t want to paint it and just want the hardshell and buttons, it can be done in a few hours.
Parts
Affiliate links below. Consider buying through these links to help support the blog.
Essentials
- Nintendo Switch Console
- Nintendo Switch Transparent Hard Shell
- Nintendo Switch White JoyCon Replacement
- Nintendo Switch White Button Replacement
- iFixit Mako Drivers (The shell kit includes a driver, but it isn’t very good.)
- iFixit Precision Tweezers
Painting Parts
- Iwata Eclipse Airbrush (Or something comparable)
- Iwata Airbrush Compressor (Or something comparable)
- Iwata Spray Out Pot
- Airbrush Cleaner
- White Fluid Acrylic Paint
- Airbrush Medium
- Masking Tape
- Exacto Knife
Optional Parts
These are optional parts but it’s how I landed at my process. I tested it on a set of transparent acrylic risers to see if I could achieve the effect before moving onto the console.
The “Phantom” Effect
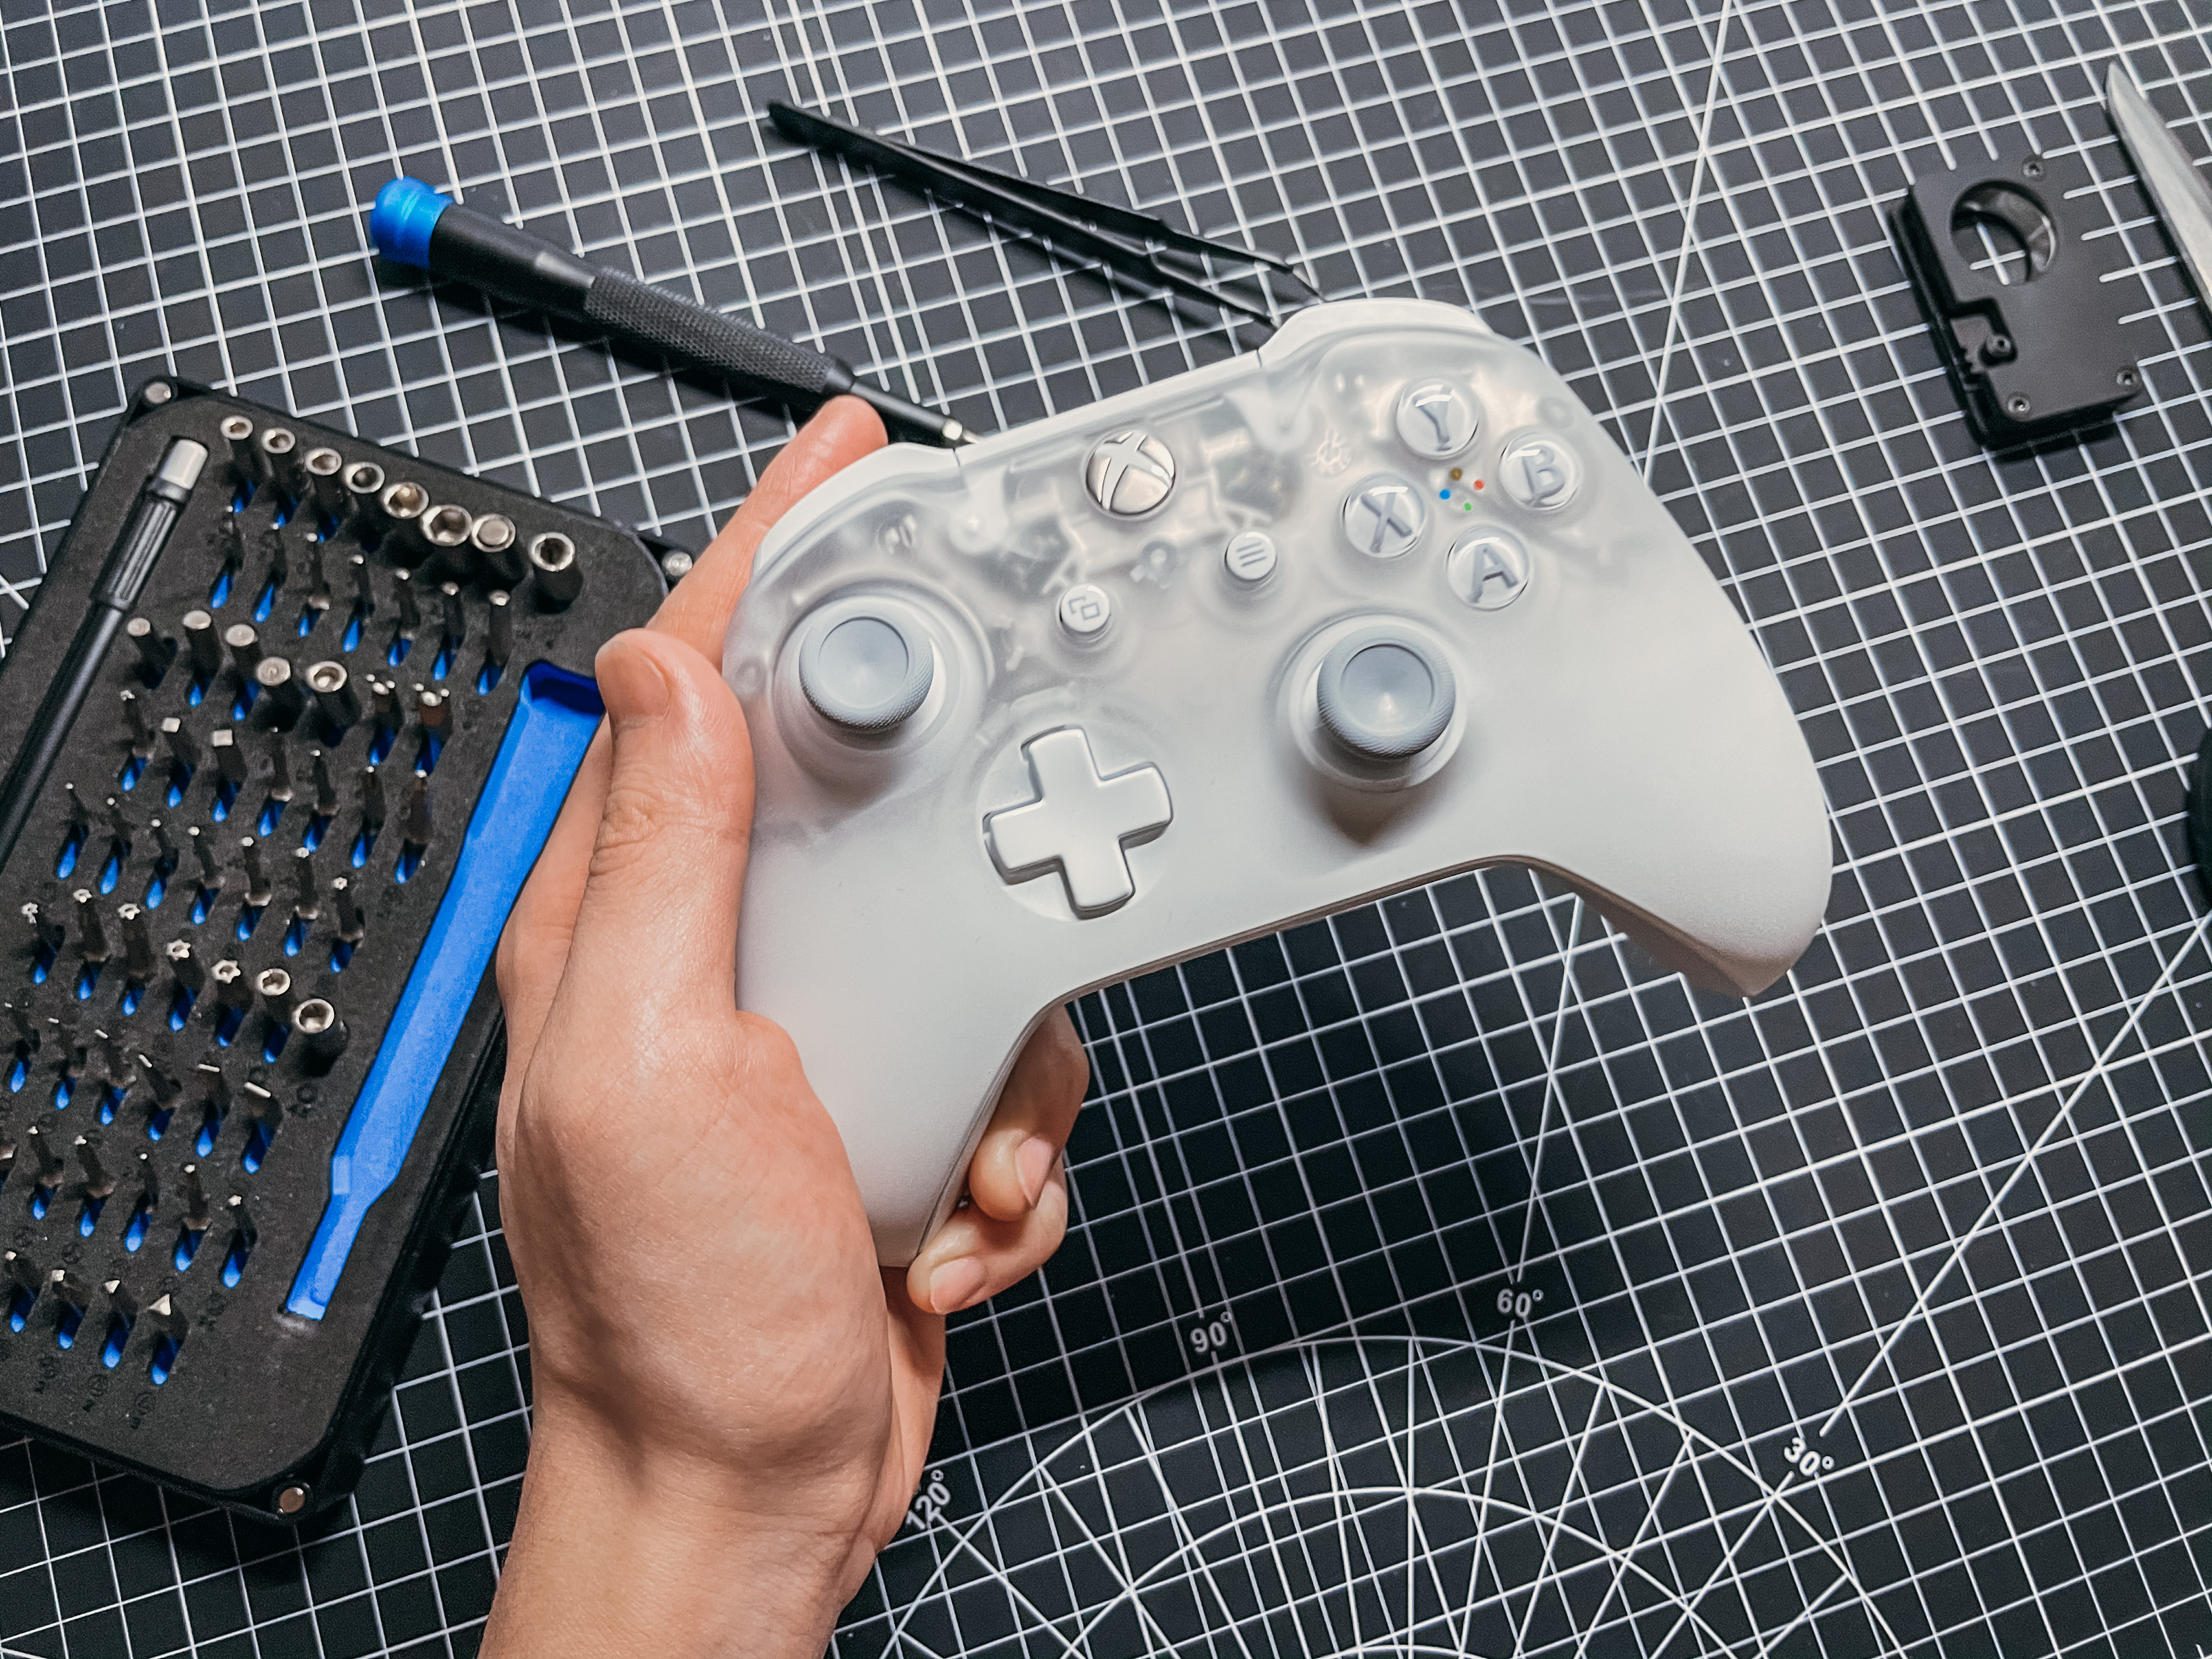 Xbox One Controller: Phantom White Colorway.
This effect is inspired by this special edition Xbox One controller in the “Phantom White” colorway, and took me a bit of trial and error to replicate.
It comes down to two things:
- A frosted exterior that can be achieved by sanding down the outside.
- A gradient from white to clear which is achieved by painting the inside with an airbrush very carefully.
So, the original plan was to sand down the outside of the case, and paint a gradient onto the inside of the case. It turns out the case I linked above was frosted slightly already, so I decided to skip the sanding step.
I do still recommend testing the whole process out on risers– so you can understand exactly how the gradient process is achieved without ruining a set of controllers.
Here’s what you need to do:
- Unbox the shell, being very careful not to lose the small bits.
- Mask off the outside of every single piece of the shell and cut off the excess with an Xacto knife. This will protect the outside while you’re painting the inside.
- Personal preference: I painted the entire backplate white, and kept the kickstand clear. This matches the Xbox controller. I also don’t think the Switch’s back internals are very attractive.
- Using an airbrush, delicately paint in smooth horizontal strokes on the inside of the four Joycon controllers. Optionally tape down the pieces as needed so they don’t move.
- Be extremely slow and careful with your airbrush and practice on paper first. It is tempting to keep moving up to cover each mistake– you will hide too much if you keep going up.
- Because of the fixtures inside of the shell– you will need to rotate the pieces upside-down occasionally to ensure an even gradient of paint behind the fixtures. As you get higher, you need to become lighter-and-lighter handed.
- Allow your first layer to dry over 8-24h. Patch up spots as needed. If it’s in the very opaque area, I used a q-tip. In the clear areas, I was very careful with the airbrush. Optionally peel off the tape and use rubbing alcohol to clean off any paint that may have seeped out.
- Allow 12+ hours to dry again once you’re satisfied. If you haven’t already, peel off the masking tape and clean the edges with rubbing alcohol.
Things to be careful of:
- Because of the fixtures inside the Joycon, it will not be possible to achieve opaque white completely– you can however dab a bit more paint over the fixtures with a q-tip to hide any irregularities in transparency once your first layer has dried (as the first layer will tend to pool in corners).
- Be extremely careful as you paint upwards– it is tempting to fix things by simply covering things up. Before you know it you’ll end up with an entirely white controller. Ideally the gradient fully disseapears at the halfway mark.
- Don’t use acetone to clean the paint off– you’ll wreck the controllers. Use rubbing alcohol. If you make a mistake early you can catch it. Make a mistake too late, and you’ll need a new hardshell.
- Your paint will probably take upwards of 8+ hours to dry. Ideally, you give each layer 12-24h before moving on.
Assembly
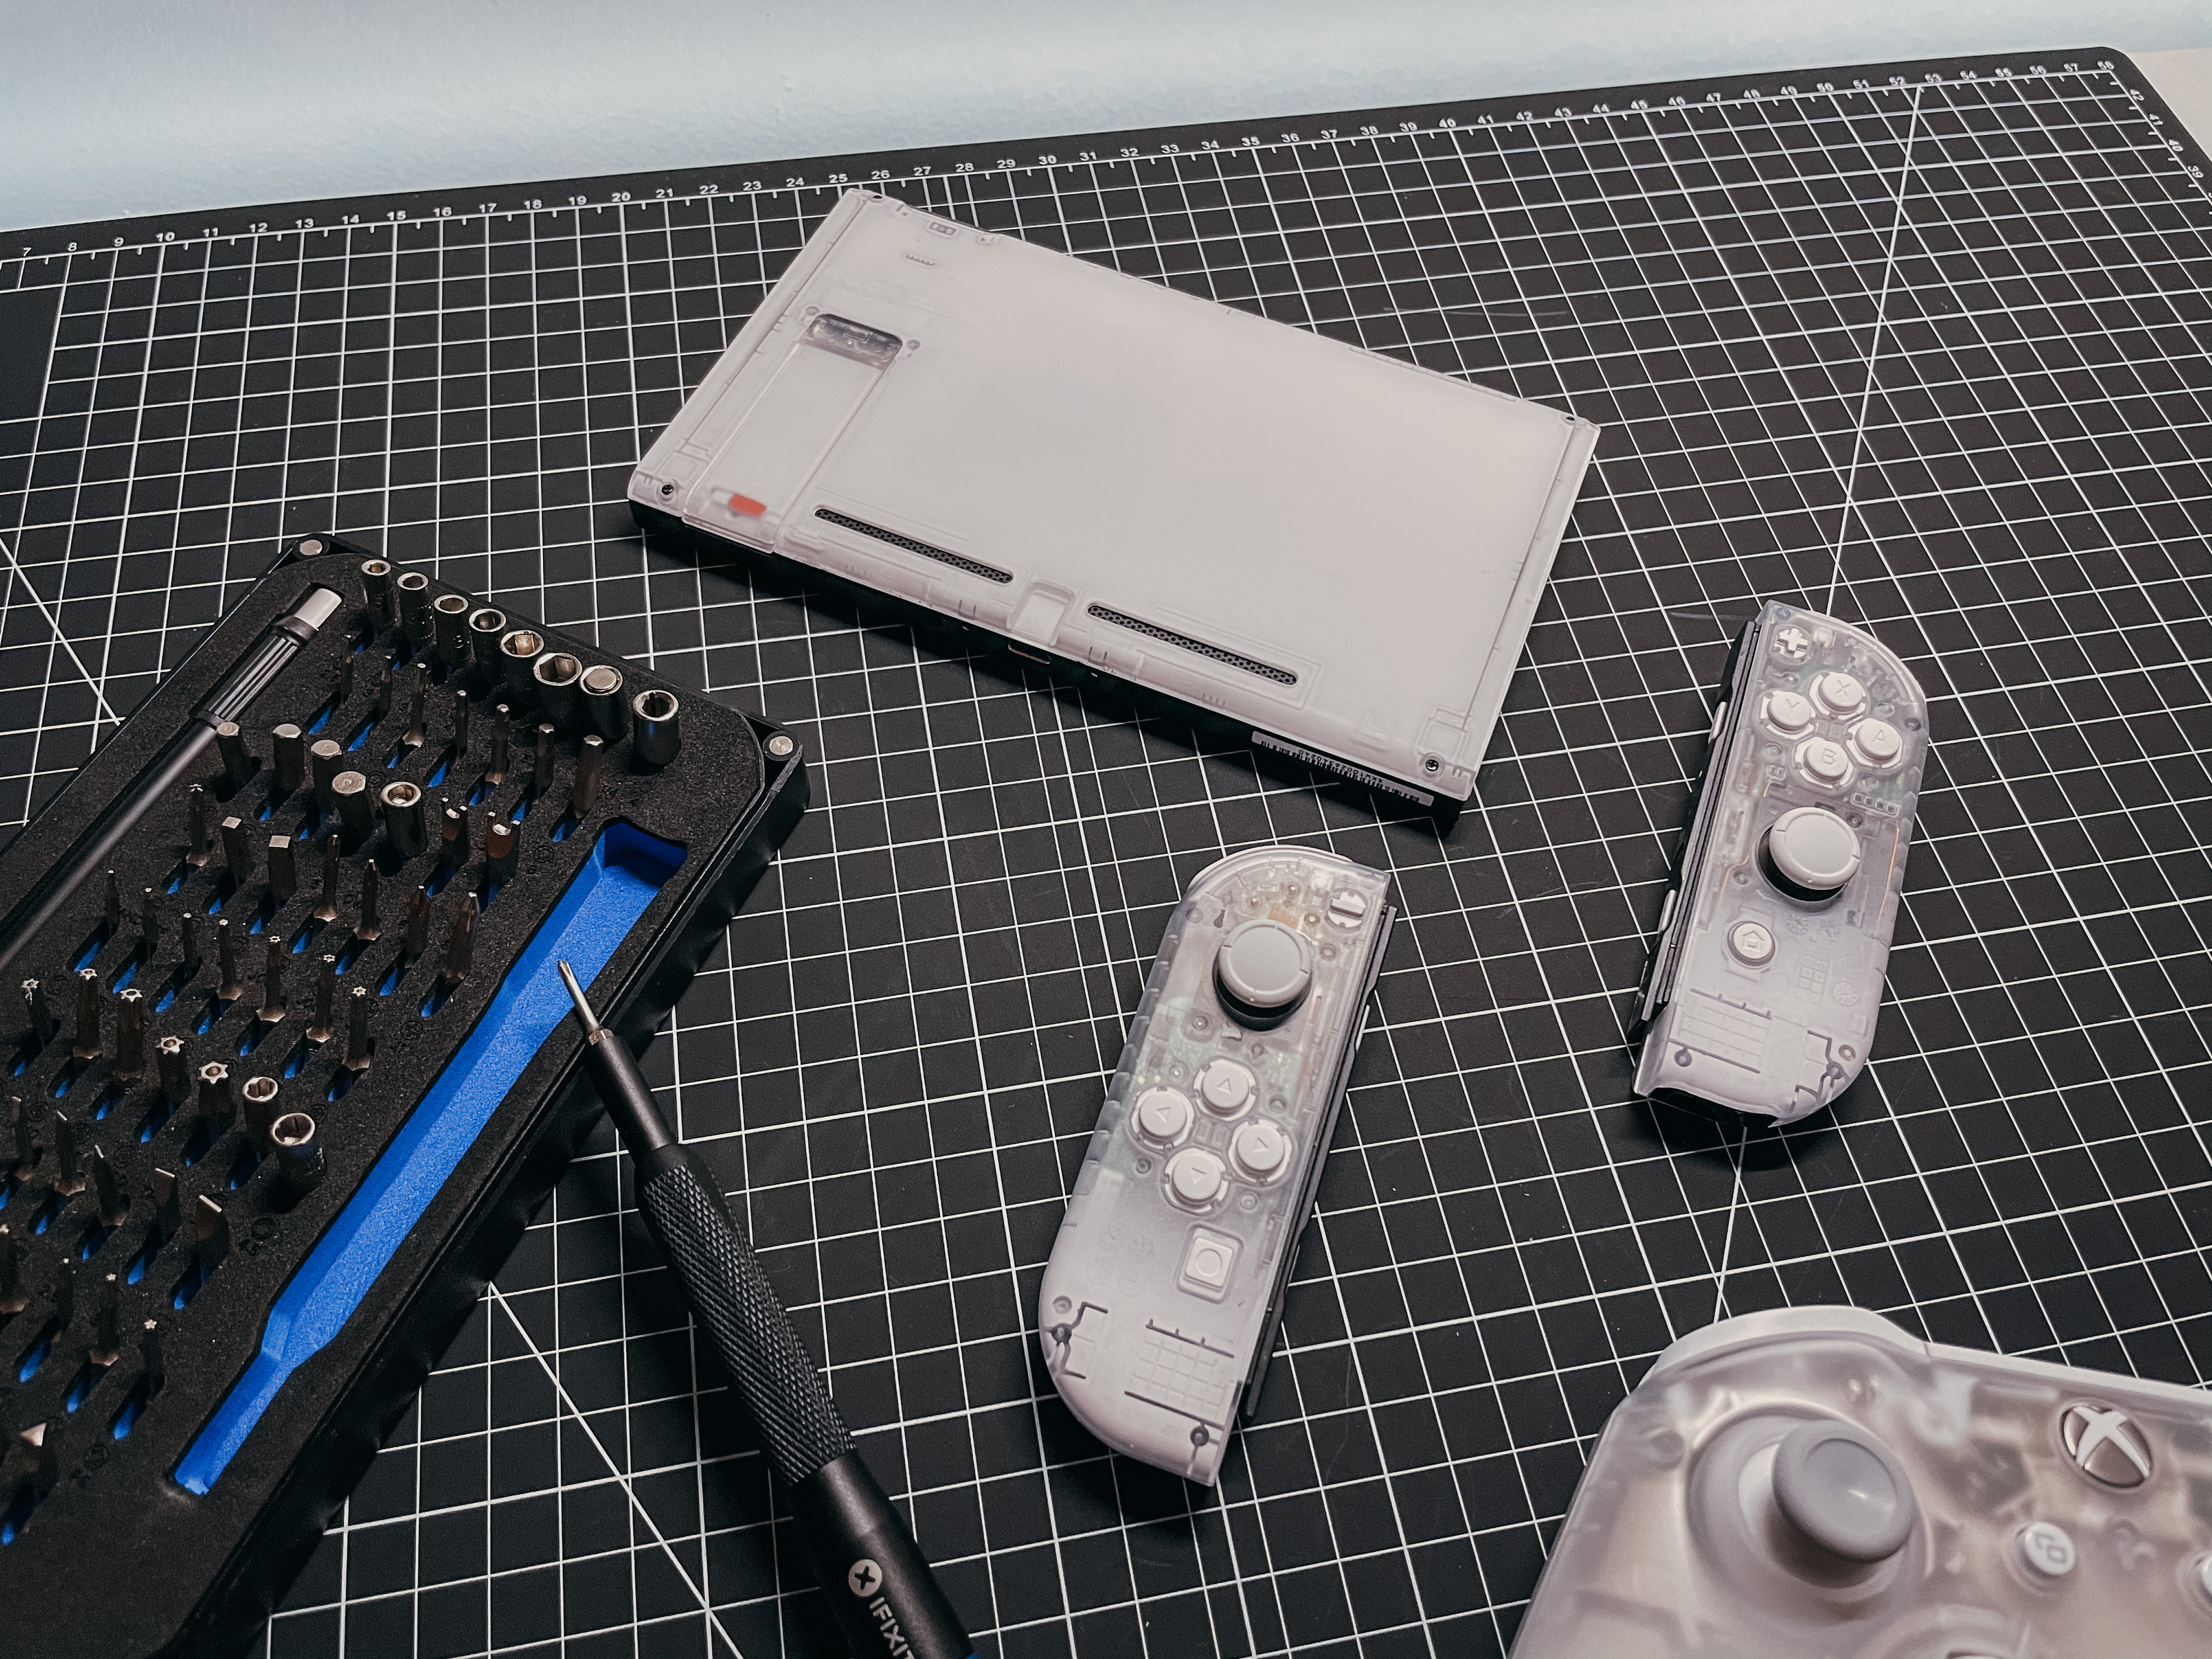 The back of the Nintendo Switch.
Once your parts are all painted– it’s time for assembly. I followed this tutorial here for the shell, buttons, and Joycon, pausing often. Though it is basically dissasembly and reassembly: it’s a very delicate process. Be extremely careful, here are some of the gotchas below.
Things to be careful of:
- Be extremely careful unscrewing the screws in the Switch. They strip very easily and will be a nightmare to get out. I spent hours, maybe upwards of four trying to get a single stripped screw out. Ensure that you’re using the right heads at all times.
- Be extremely careful with the ribbon cables inside of the controllers. If you rip them you will need to buy new joysticks. I highly recommend precision tweezers for this.
Enjoy. Feel free to shoot me questions at @localghost or [email protected]
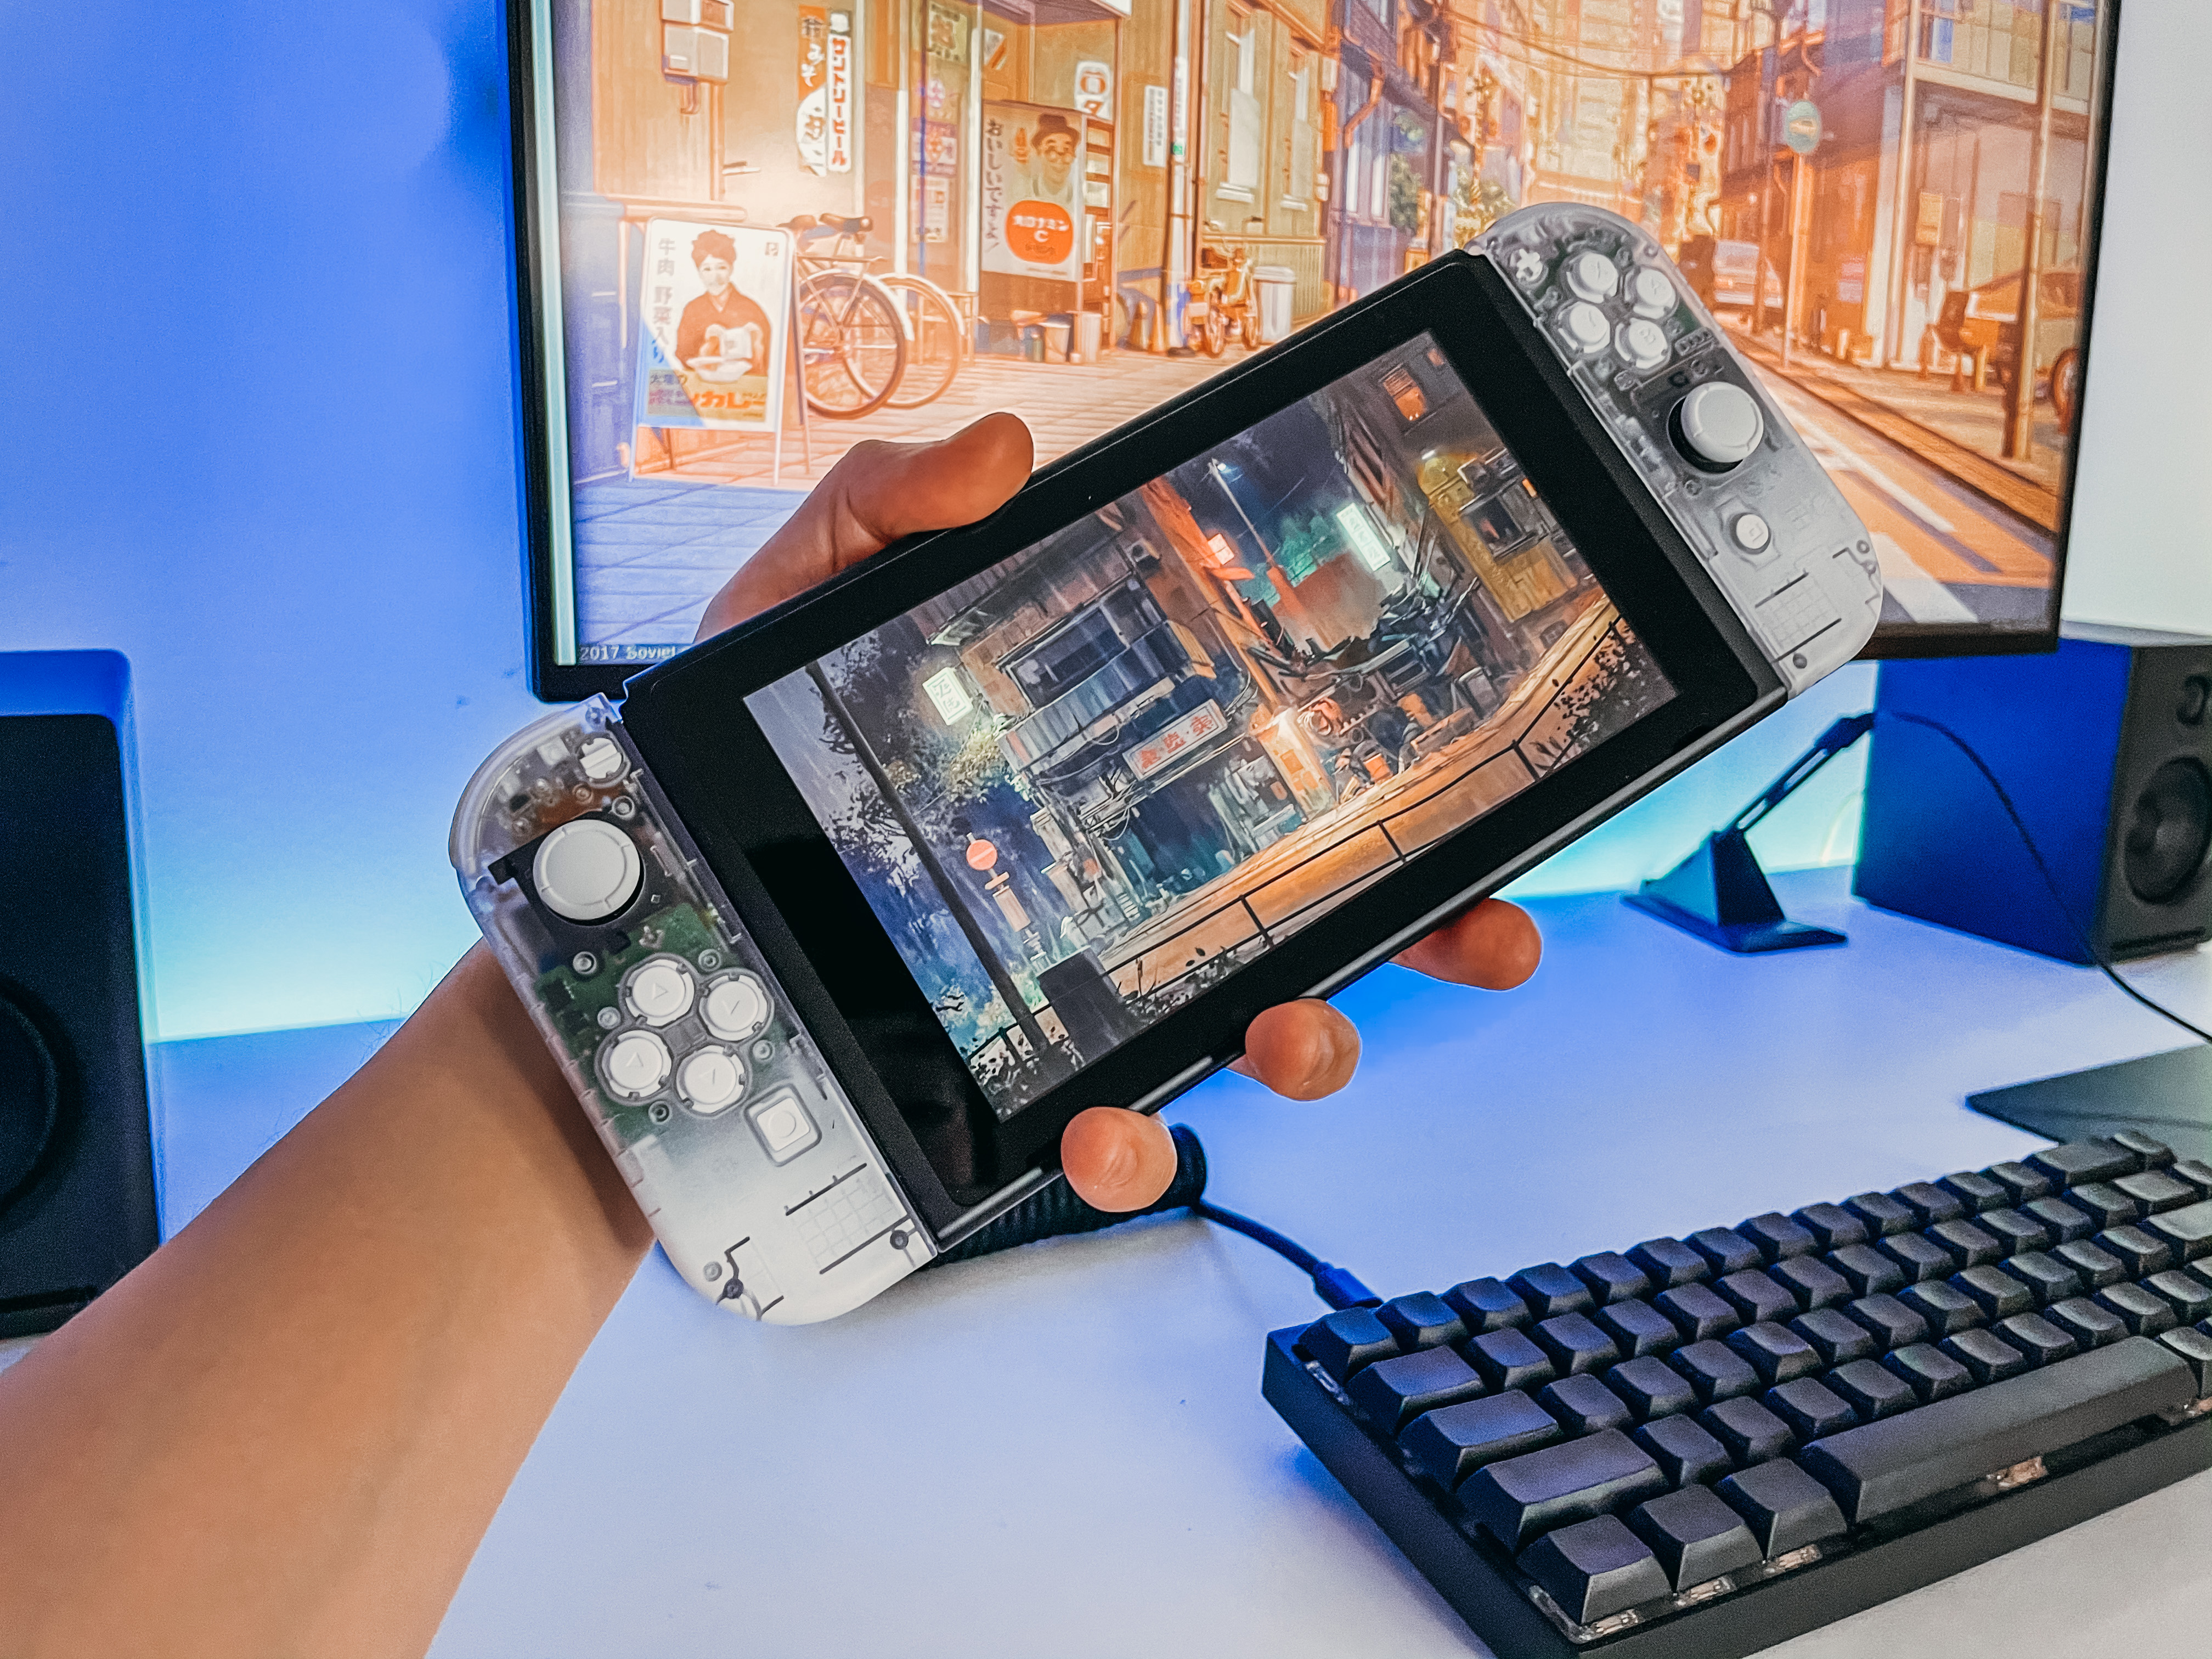 The final Nintendo Switch mod.